Transferring Parts
Transferring single items
The utilities used for transferring product fromat an item levelfrom one number or category to another are found in the Inventory > 1. Data Maintenance > 5. Utilities menu
PRODUCTProduct/Part TRANSFER
# - Transfer
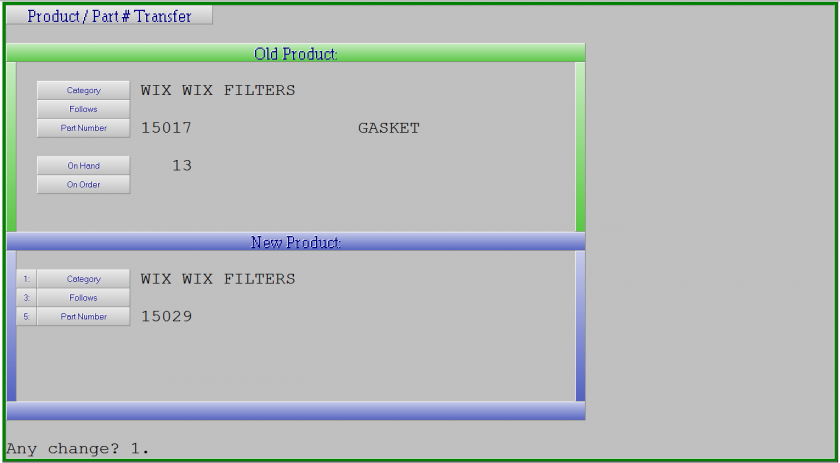
6. Inventory > 1. Data Maintenance > 5. Utilities > 2. Product/Part # Transfer
This option takes your old number and moves it to a new number. Does not need to be within the same category. This should be used when creating a new number

- Enter the Category / Part of the item you wish to transfer
PRODUCTthe HISTORYCategory TRANSFER
/ - Part
- where you would like to transfer the part to
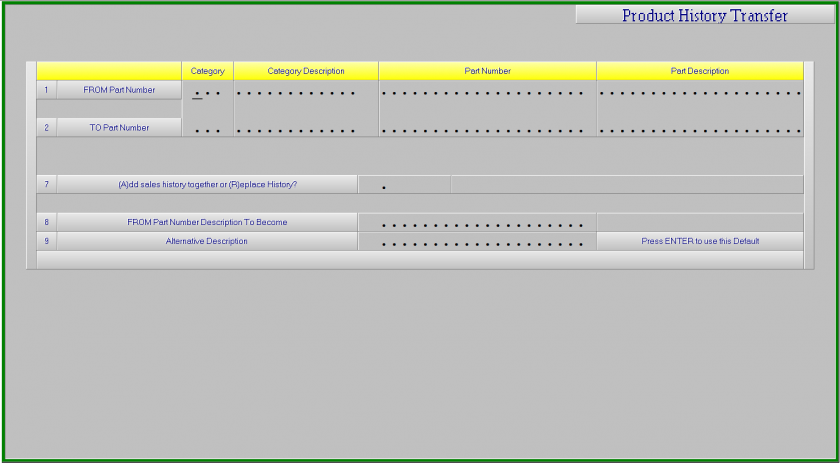
- Enter the old part number
Product History Transfer
6. Inventory > 1. Data Maintenance > 5. Utilities > 3. Product History Transfer
This option takes only the history of an old number, and merges it with an existing number. No on hand information is transferred in this routine.

Transferring ranges of items
Before running any category based transfer routines, it is always suggested to run a category resequence
Inventory > 1. Data Maintenance > 5. Utilities > 1. Category Resequence
Category Transfer
9. System Utilities > 6. inventory > 4. Category Transfer
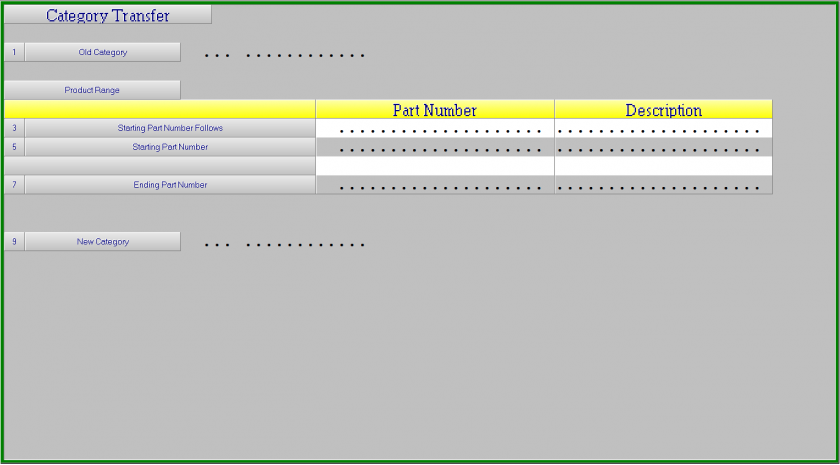
This utility should be used when moving all or part of a category to a NEW category. In this routine, the new category should not yet exist. You can, however, choose only a portion of the old category to move.
A stock status report can be very useful in determining the start and end of a category

- Enter the old category which you want to move product out of.
- Select the starting and ending part number for the range that you wish to move. If you are moving the entire category, you can press ENTER to default to start/end of the category.
- Enter the new category into which you want to move the product.
Category Merge
9. System Utilities > 6. inventory > 4. Category Merge
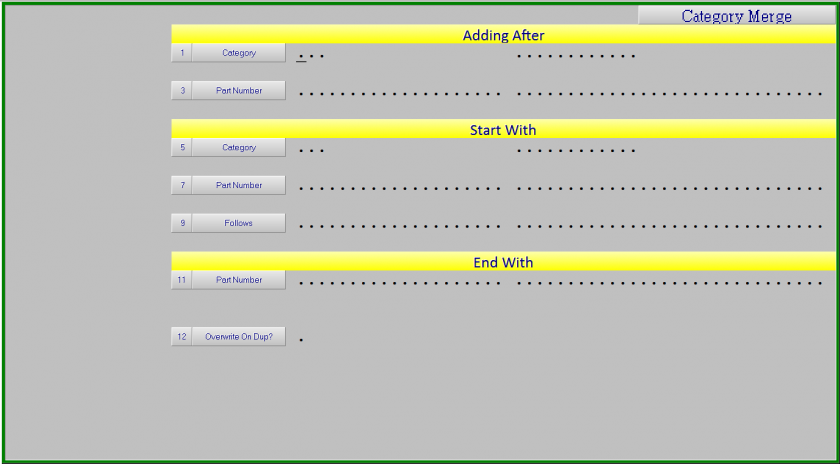
This utility should be used when moving all or part of a category to an EXISTING category. This routine will add items to to the new category and merge the history of any duplicated items
A stock status report can be very useful in determining the start and end of a category

- Enter in the category you wish to add the parts to. (it should skip past field 3 (Part number)
- Enter the category you wish to move parts out of.
- Select the starting number you wish to move
- Select the ending number you wish to move
- Overwrite on dup? Y = replace any duplicates; N = merge any duplicates
