The default admin username is **Polycom**, the default password is **456**
[](https://docs.amscomp.com/uploads/images/gallery/2021-03/image-1616799433584.png) Once you have logged on to the device, you will be presented with the main menu screen [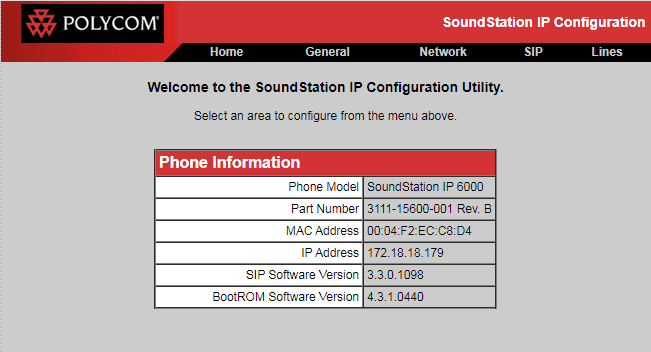](https://docs.amscomp.com/uploads/images/gallery/2021-03/image-1616799261584.png) #### Registering the device on the PBXAMS will need to provide you with the proper URL and user credentials to complete these steps.
##### Register the SIP server - To access the SIP server settings for the device, click the **SIP** heading - Next, you can scroll to the **Server 1** section [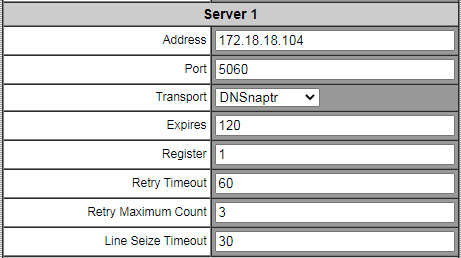](https://docs.amscomp.com/uploads/images/gallery/2021-03/image-1616799754520.png) - The fields in **Server 1** can be filled in as follows: - **Address**: The PBX address as provided by AMS - **Port**: The server SIP port as provided by ams - **Transport**: DNSnaptr - **Expires**: 120 - **Register**: 1 - **Retry Timeout:** 60 - **Retry Maximum Count:** 3 - **Line Seize Timeout**: 30 - The rest of the fields can be left at their default values - Click the submit button at the bottom of the page [](https://docs.amscomp.com/uploads/images/gallery/2021-03/image-1616800216939.png) ##### Registering the Extension - To access the SIP extension settings for the device, click the **Lines** heading - The **Line 1** settings will be where you enter in the server IP, port and user settings [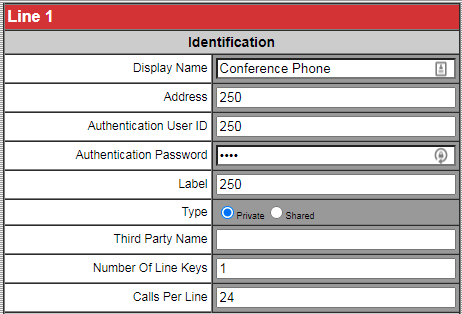](https://docs.amscomp.com/uploads/images/gallery/2021-03/image-1616799576568.png) - The fields in **Line 1** can be filled in as follows: - **Display Name**: Any name to identify the unit - **Address**: The extension number as provided by AMS - **Authentication User ID**: The username as provided by AMS - **Authentication Password**: The Password as provided by AMS - **Label**: The extension number as provided by AMS - **Type:** Private - **Third Party Name:** blank - **Number Of Line Keys**: 1 - **Calls Per Line**: 24 - Next, you can scroll to the **Server 1** section [](https://docs.amscomp.com/uploads/images/gallery/2021-03/image-1616799754520.png) - The fields in **Server 1** can be filled in as follows: - **Address**: The PBX address as provided by AMS - **Port**: The server SIP port as provided by ams - **Transport**: DNSnaptr - **Expires**: 120 - **Register**: 1 - **Retry Timeout:** 60 - **Retry Maximum Count:** 3 - **Line Seize Timeout**: 30 - The rest of the fields on this page can be left at their default values - Scroll to the bottom of the page and click the **Submit** button [](https://docs.amscomp.com/uploads/images/gallery/2021-03/image-1616799915899.png) ##### Setting the proper time - Click the **General** heading - Click the **Time** heading [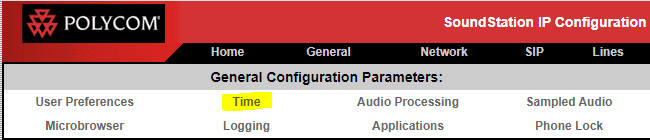](https://docs.amscomp.com/uploads/images/gallery/2021-03/image-1616800074599.png) - Adjust the time settings accordingly [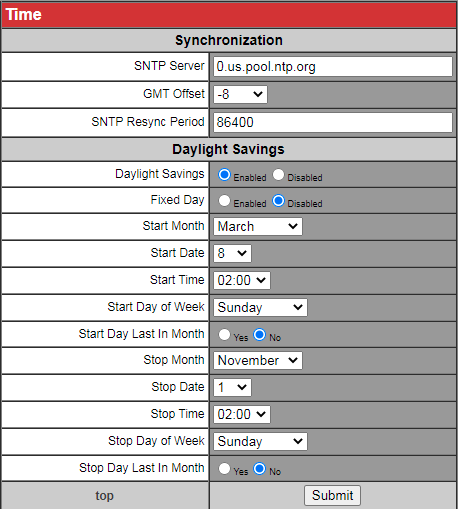](https://docs.amscomp.com/uploads/images/gallery/2021-03/image-1616800106214.png) - Fields that need to be set are: - SNTP server: Set to the time server provided by AMS - **GMT Offset**: Set to your appropriate timezone offset. - All other fields can be left at their default values - CLick the **Submit** button at the bottom of the page. [](https://docs.amscomp.com/uploads/images/gallery/2021-03/image-1616800190328.png)