When this is filled in, the user will only see customer listings and sales figures for their assigned customers
**Manager:** Marking a user as a manager allows them to see sales data for customers of other sales reps **Branch:** You will also be given a listing of valid branches. You should assign the user's primary branch here. ### Receiving the invite email The user should then receive an invite email from the **notifications@counterpoint.cloud** email. This email will contain a link within it that, when clicked on, will direct the user to their own registration page.If the user does not see a registration email in their inbox, have them check their SPAM filter
### Completing the user registration When the user clicks on their email, they will be directed to a sign-up form [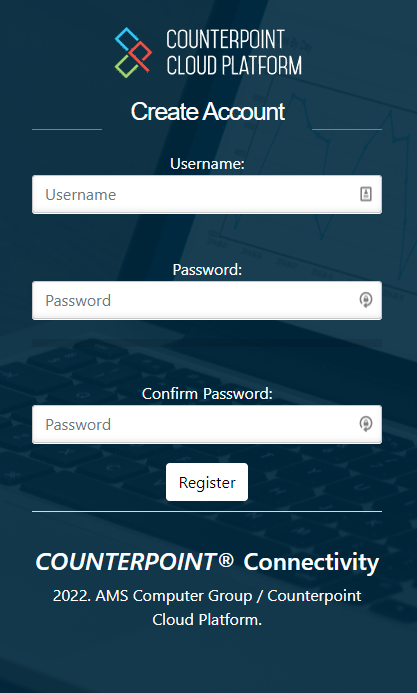](https://docs.amscomp.com/uploads/images/gallery/2022-06/image-1655413229428.png) The user will enter in their desired username and a valid password.Counterpoint Cloud Platform does require complex passwords and will notify you if the chosen password does not meet the minimum requirements of the service.
Upon successful completion of the user setup, your user will be presented a link to log in. ## Managing users Once a user is set up in the platform, you can manage the user by going to the **CP2 Manager** tab in the left-bar navigation pane. Once in the **CP2 Manager** pane, you can select to edit the user you wish to manage. The user management screen has 4 possible panes to manage different of the user ### User Profile [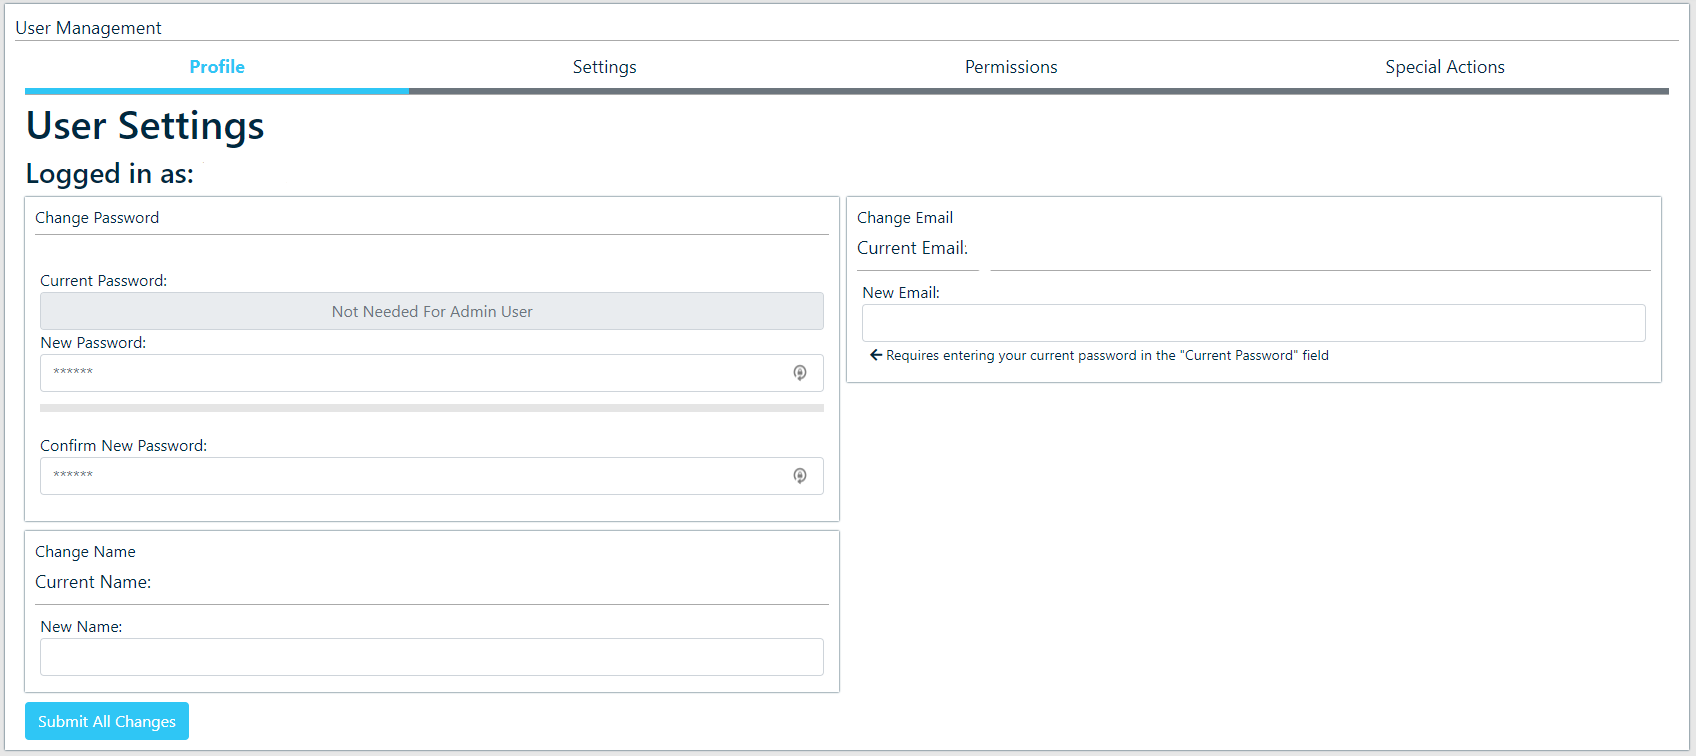](https://docs.amscomp.com/uploads/images/gallery/2022-06/image-1655414344391.png) The **Profile** tab allows you to change the following - **Password:** A user's password can be modified here.As an admin user, you are not required to enter in a user's current password in order to make this change
- **Name:** Change a user's name as it appears on reports, etc. - **Email:** Change the email associated with a user's account ### User SettingsThe user settings tab manages server settings and default values used by the system. These changes should not be made without first reviewing the possible options with AMS to avoid causing problems with the user's account.
[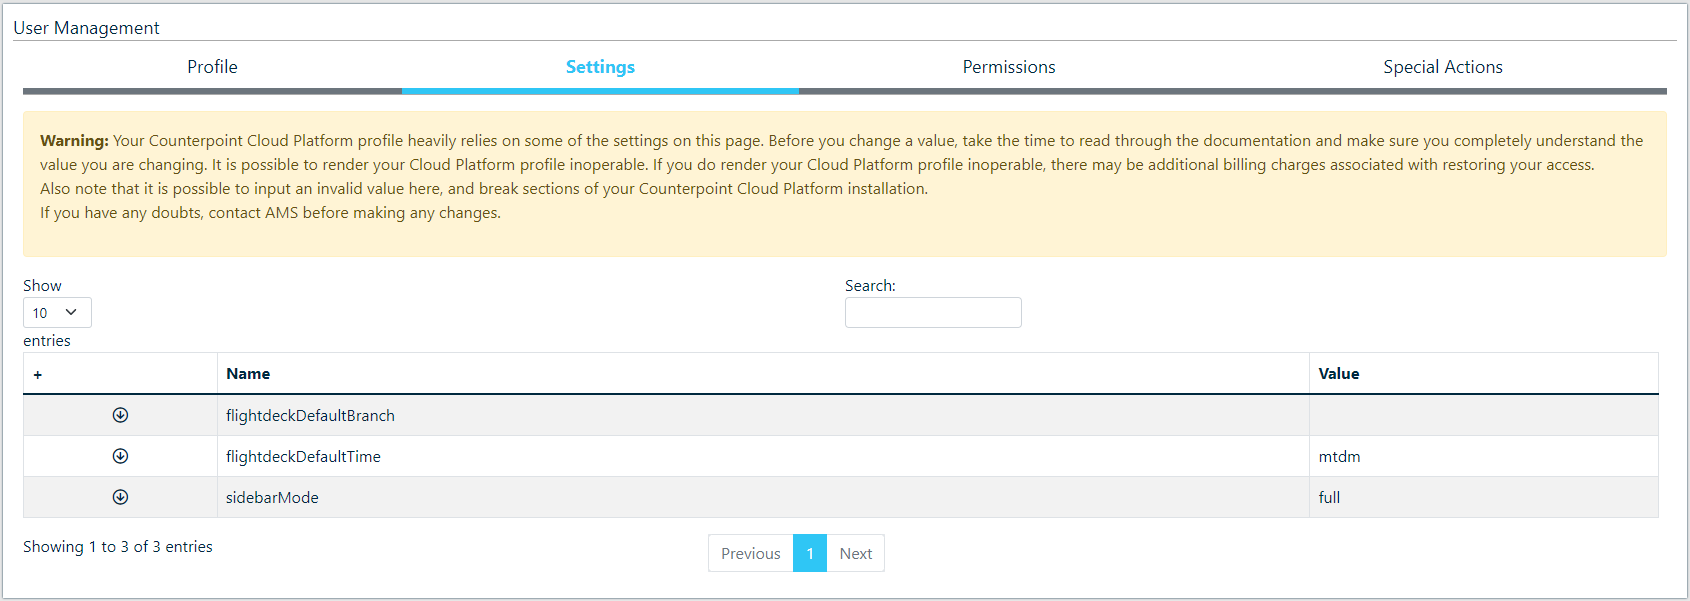](https://docs.amscomp.com/uploads/images/gallery/2022-06/image-1655414832523.png) The user settings tab allows you to manage 3 server values - **flightdeckDefaultBranch:** The default branches displayed when you load the FlightDeck Dashboard. This should be a list of branch IDs separated by commas. ( "01,02,04,12" ) or left empty to display all branches. - **flightdeckDefaultTime:** The default time displayed when you load the FlightDeck Dashboard. Possible values: "mtdm", "ytd", "mtdy", "p30", "p60", "p90" - **sidebarMode:** The mode to draw the sidebar in. Either full or small. ### User Permissions A user's access to store branches and the various modules available within the Counterpoint Cloud Platform are all managed within this tab [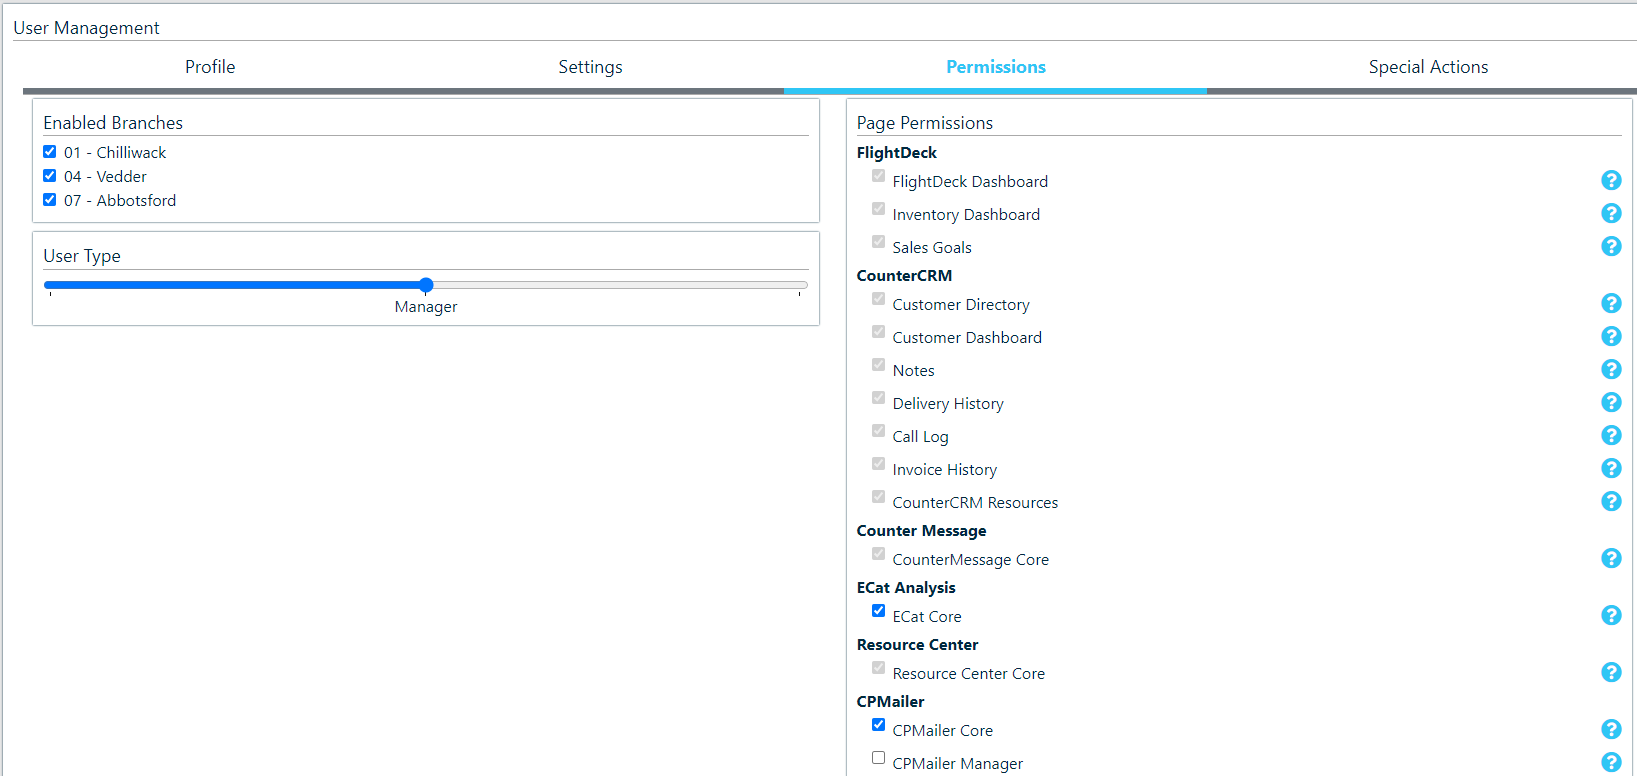](https://docs.amscomp.com/uploads/images/gallery/2022-06/image-1655414998208.png) - **Enable Branches:** Here you can activate a user's access to your branch locations - **User type:** This allows you to elevate or lower a user's global access level - **Page Permissions**: This allows you to grant access or revoke access to specific pages within the Counterpoint Cloud PlatformBased on a user's global access level, some pages are deemed 'required' and will not be able to be revoked.
### Special Actions This tab allows for special actions to be taken on an account by an admin user [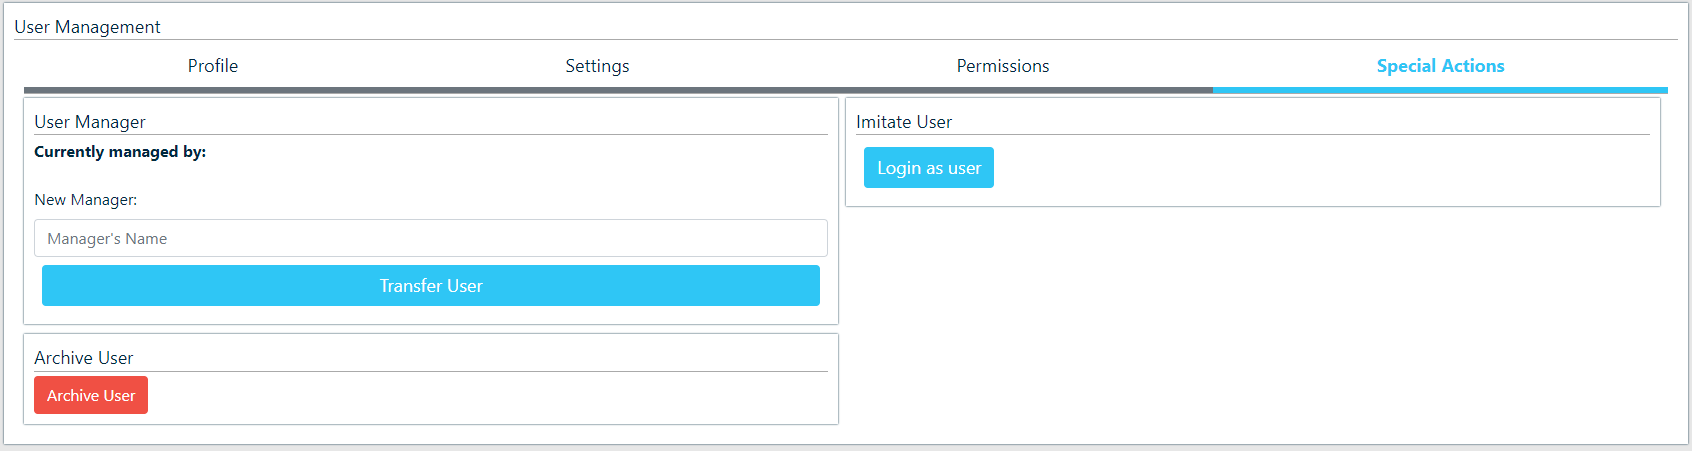](https://docs.amscomp.com/uploads/images/gallery/2022-06/image-1655415206764.png) - **User Manager**: This assigns another user as the manager of the user selected. This will allow you to assign a 'Manager' level user control of a 'User' level user - **Archive User**: This will essentially disable a user. It does not delete the user, as this may break certain functionality, but it renders a user inoperable and unable to log in. - **Imitate User**: Allows you to log in as the user and see their view of the Cloud Platform # User Types There are three different types of users, each with their own restrictions on what permissions apply to them: #### User A normal user can be limited in the modules they see, branches they can access, and are limited to their own sales in most cases. #### Manager A manager user can be limited to the modules they see and the branches they can access, however they are able to see sales data regardless of the associated sales rep. Assigning a salesperson ID to a manager will have no effect on their ability to see information. #### Admin An admin user can not have permissions applied to them based on modules, branches, or salesreps. An admin user is granted all permissions available. # Permission Errors ### You currently do not have permission to view any branches. This message is displayed on every page when logged in as a user that does not have access to any branches. With the new permission system in Beta 1.3, every user must be granted explicit permissions as to what information they are able to use. If you are the user seeing this message, contact your manager or whoever sent you the invite link to the Counterpoint Cloud platform and ask them to give you access to one or more branches. If you are the manager of a user who is seeing this, navigate to the ManagerCP module and edit the user's permissions to grant them access to one or more branches in your Counterpoint Cloud instance. # Module Details ### FlightDeck #### FlightDeck Dashboard Enabling the FlightDeck Dashboard gives a user access to sales either tied to their salesrep id, or all sales in the case of a manager for branches which they have permission to. Users can filter the data by time periods, branches, and specific customers. #### Inventory Dashboard Enabling the Inventory Dashboard gives a user access to all of the inventory data for all branches which they have permissions to access. This includes total inventory value, various value breakdowns, old/low stock tables, and value comparisons against company totals. #### Sales Goals Enabling the Sales Goals module allows a user to track the progress of a branch, or of their own sales performances over a period of a given month or year. ### CounterCRM #### Customer Directory The Customer Directory module allows a user to lookup a customer based on their other information. With access to the Customer Dashboard module, clicking on a customer will load into their CounterCRM Dashboard. #### Customer Dashboard The Customer Dashbord breaks down sales for a given customer similar to the FlightDeck Dashboard module. In addition the Customer Dashboard module serves as a central point for seeing information from the other CounterCRM modules, CounterMessage messages, and imported data on jDispatch deliveries. **Note:** Requires access to the Customer Lookup module to function properly. #### Notes The Notes module of CounterCRM imports notes assigned to a customer in COUNTERPOINT and displays them. The Notes module also allows for the creation of additional notes for a specific customer, with the ability to return a note back to COUNTERPOINT available in a future version. **Note:** Requires the Customer Directory and Customer Dashboard modules to function properly. #### Delivery History The Delivery History module imports a history of deliveries made to the customer, via jDispatch. **Note:** Requires the Customer Directory and Customer Dashboard modules to function properly. #### Call Log The Call Log module provides a history of calls involving the customer, imported from your AMS Unified Communications platform. **Note:** Requires the Customer Directory and Customer Dashboard modules to function properly. #### Invoice History The Invoice History module provides a history of invoices tied to a customer. Also includes the ability to recall an invoice PDF file thats to integration with your COUNTERPOINT web server. **Note:** Requires the Customer Directory and Customer Dashboard modules to function properly. ### Counter Message #### Counter Message Core The CounterMessage module provides a quick, auditable method to send a message to an email address entered in the address book of your Counterpoint Cloud platform. Message is sent via email and offers a method for the recipient to reply to the message, automatically archiving the message and generating an alert for the user who sent it. ### ECAT Analysis #### ECat Core The ECat Analysis module provides a breakdown of online sales, part lookups, and lost sales that occur through the autoecat.com website. **Note:** This module does **NOT** respect branch permissions at this time. Granting access to this module grants permission for all branches. ### Resource Center #### Resource Center Core The Resource Center module provides a quick way to upload files into the Counterpoint Cloud Platform either for your own use in the future, or to be made public for other users to see. ### CPMailer #### CPMailer Core The CPMailer Core module allows a user to view and edit their own daily/weekly/monthly CPMailer messages based on any of the blocks available on the system. #### CPMailer Manager The CPMailer Manager module allows a user to modify the CPMailer messages of users that they are the assigned manager of. This also allows the creation and management of CPMailer Users. Note: Requires the CPMailer Core module to function properly. #### CPMailer Special The CPMailer Special module allows a user access to enable/disable the special reports (such as monthly/weekly customer alerts) on a company-wide basis. ### Report Generator #### Customer Reports The Custom Reports module allows users to create their own reports based on all of the information available in the Counterpoint Cloud Platform. this also includes the ability to save and rerun previous reports. **Note:** Saved reports are available to all users who have access to this module, however the branch restrictions of users will still apply. **Note:** This module does not respect a users salesrep permissions. By granting access to this module, you are granting a user access to the sales data of all salesreps. #### Prebuilt Reports The Customer Reports module grants access to prebuilt reports added to the Counterpoint Cloud Platform to be run against your data. These reports offer unique breakdowns and perspectives into performance in ways that do not fit into other modules or formats. ### CP2 Admin #### Admin CP The Admin CP module grants access to some information specific to your Counterpoint Cloud Platform, such as billing cycle and registered users. #### Address Book The Address Book module grants access to editing the address book used within the CounterMessage module. #### Corporate Goals The Corporate Goals module grants permission to create corporate goals, which are then visible to all users. #### Admin Alert The Admin Alert module grants access to the ability to modify and enable/disable the message that is displayed to all users on the first page after login. #### Server Settings The Server Settings module grants access to all of the settings that can be changed for your Counterpoint Cloud Platform. **Note:** The settings in this module can have disastrous effects on the performance of the Counterpoint Cloud Platform, and restoring issues caused by carelessness in this module may have additional billing costs. #### Branch Management The Branch Management module grants permission to edit the categories and groupings of branches that all users are able to use to quickly select groups of branches throughout the Counterpoint Cloud Platform. ### CP2 Manager #### Manager Core The Manager Core module grants a user access to invite new users to the Counterpoint Cloud Platform, and allows them to edit users that have been assigned to them.